


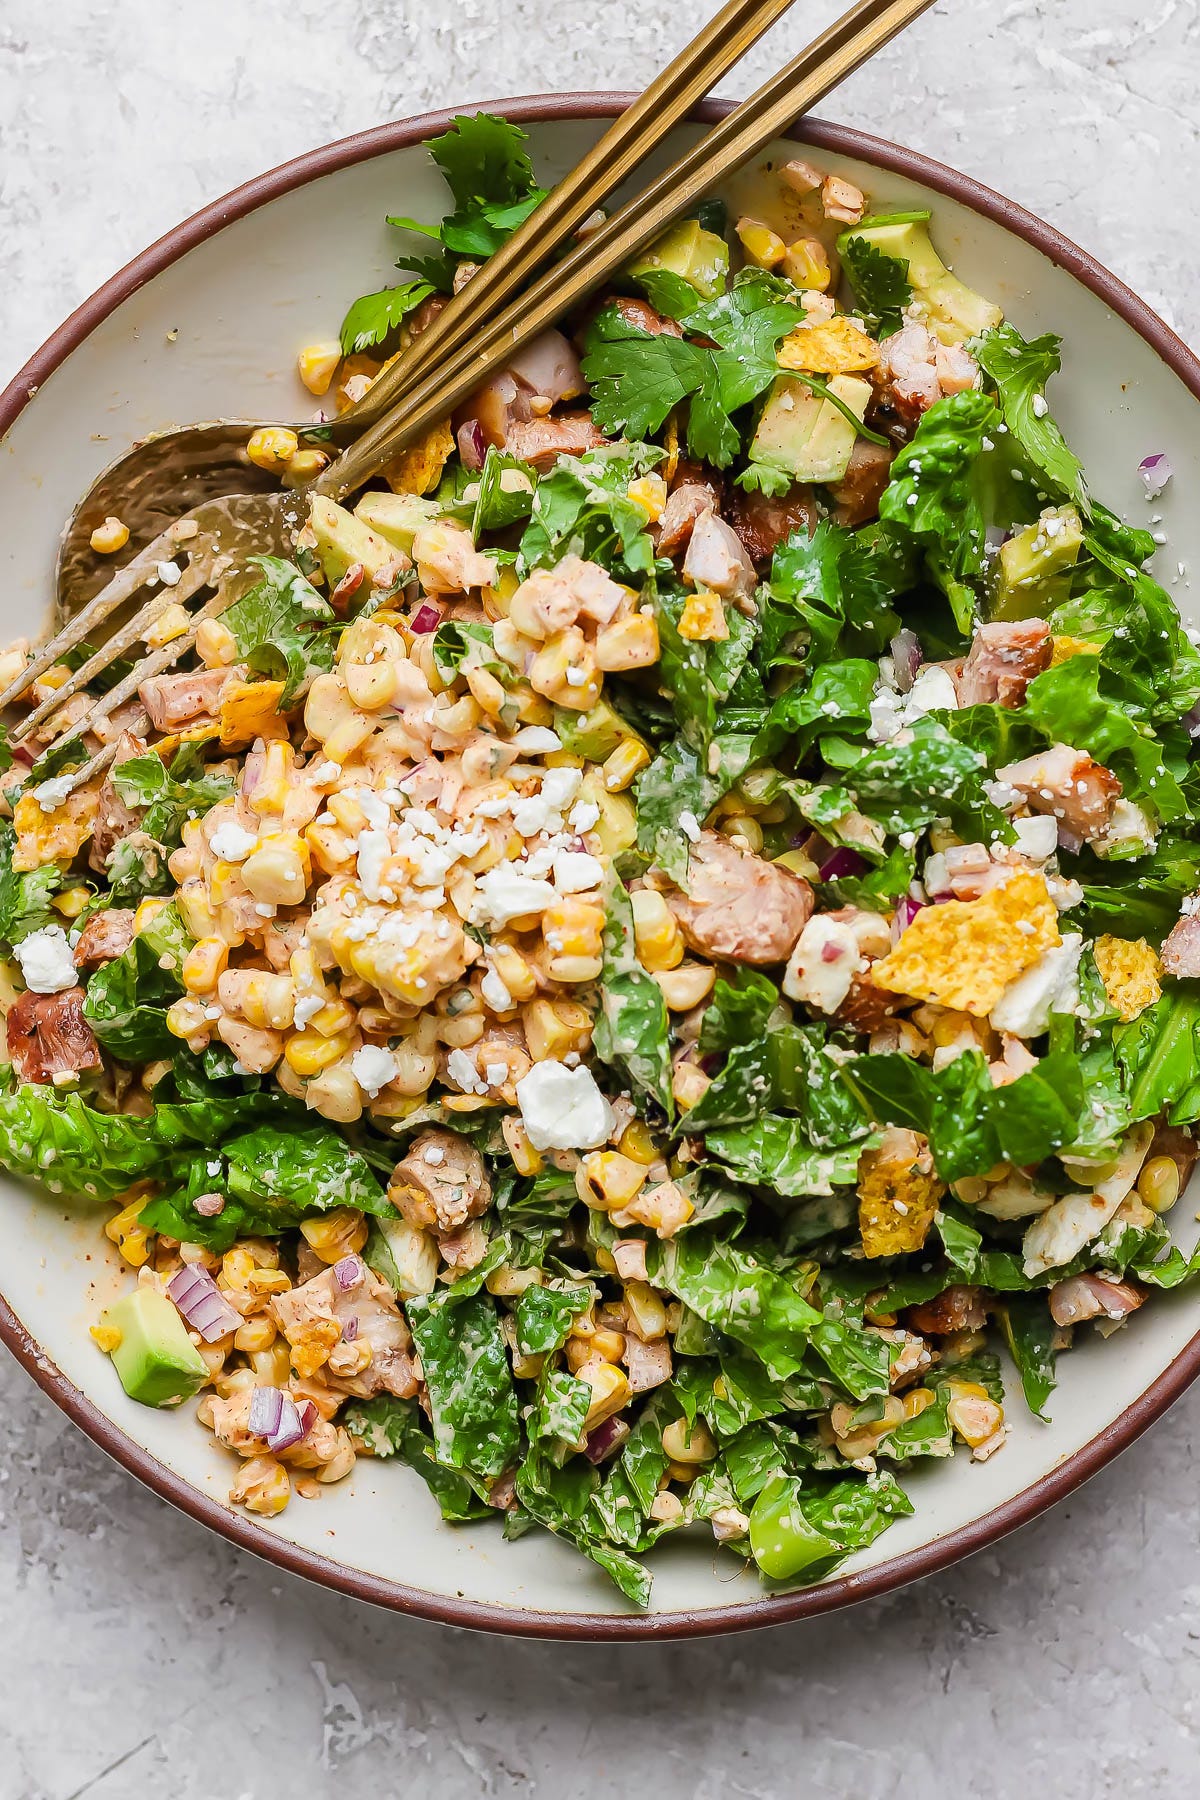
Elote Grilled Chicken Chop Salad
A flavor-packed salad that you are going to LOVE!

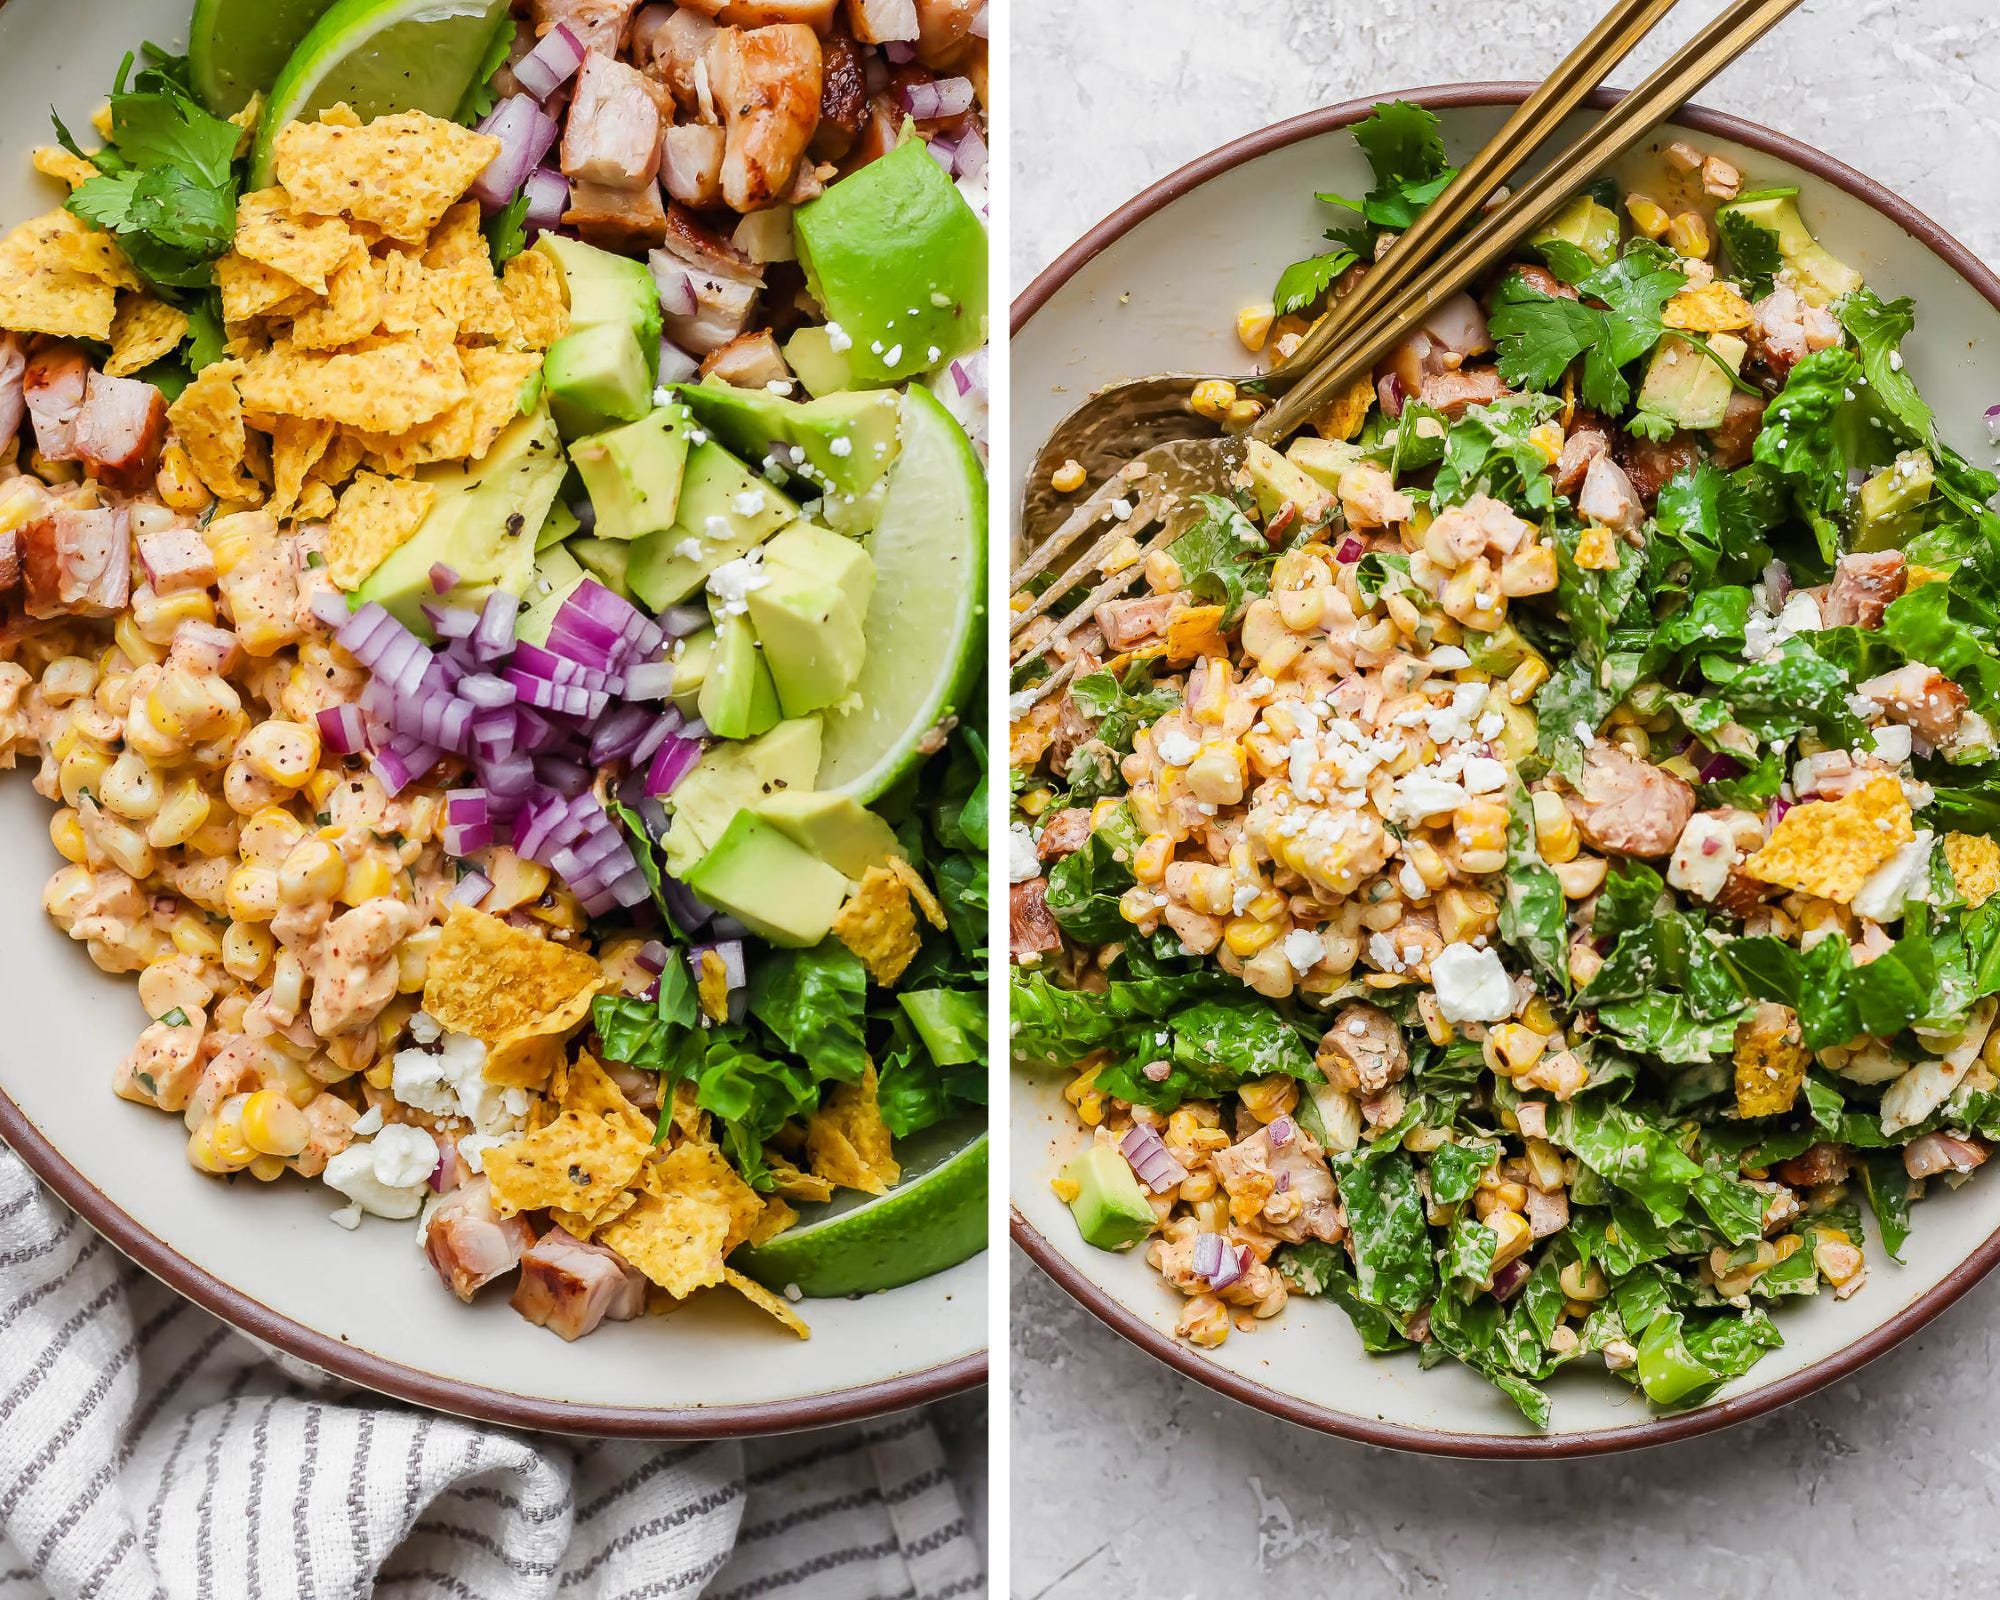
Here we are with another EXCLUSIVE recipe and it is SO DELICIOUS. Just, so so good! We have some Elote Grilled Chicken Chop Salad that we serve up with crushed tortilla chips!
Put street corn (a.k.a. elote) on pretty much anything and I am game!
If you have been around a while and know TWS recipes … you know we love a good elote recipe! It is in our ever-popular Chicken + Street Corn Rice Bowl and in our Street Corn Smash Burger Tacos! It is packed with flavor, kid-friendly and .. always hits the spot. So I had to dream up a chopped salad that incorporated it and it is just as delicious as I was envisioning!
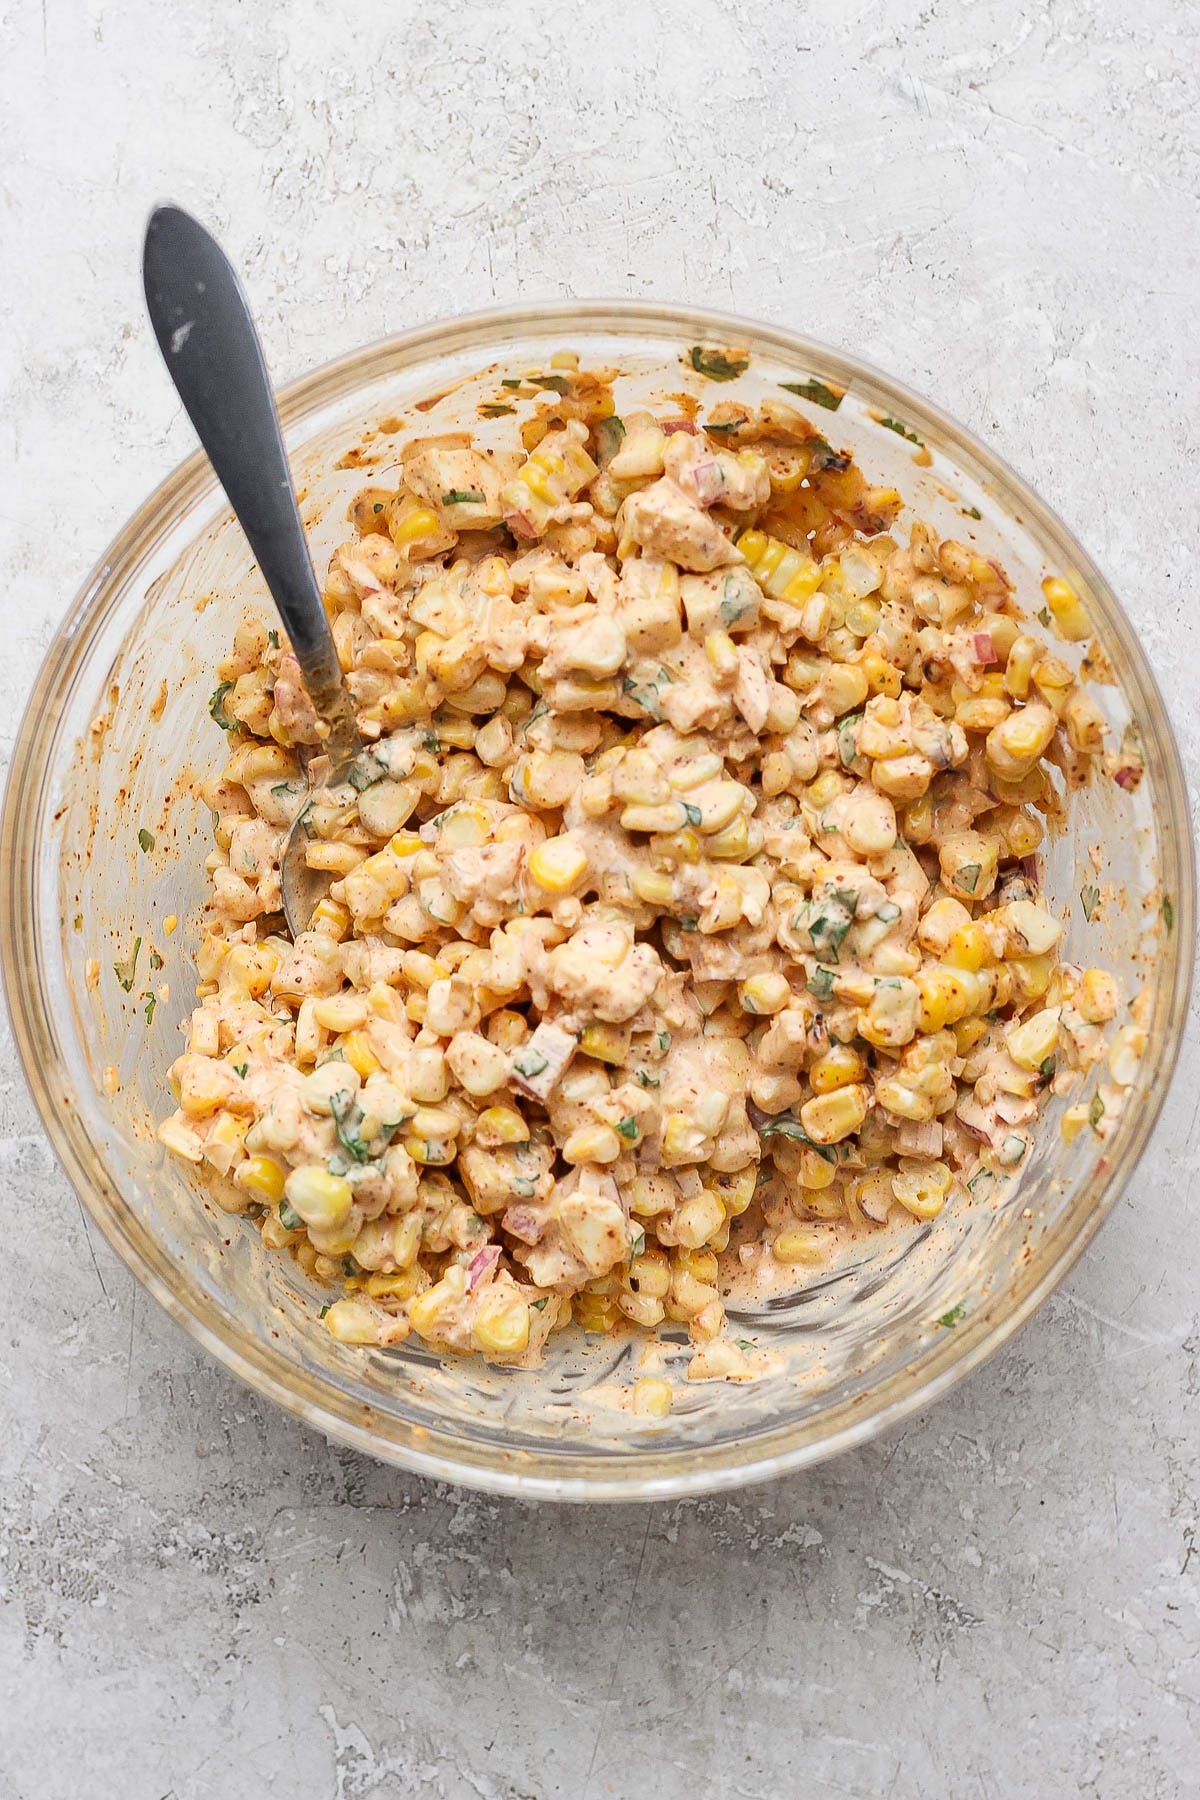
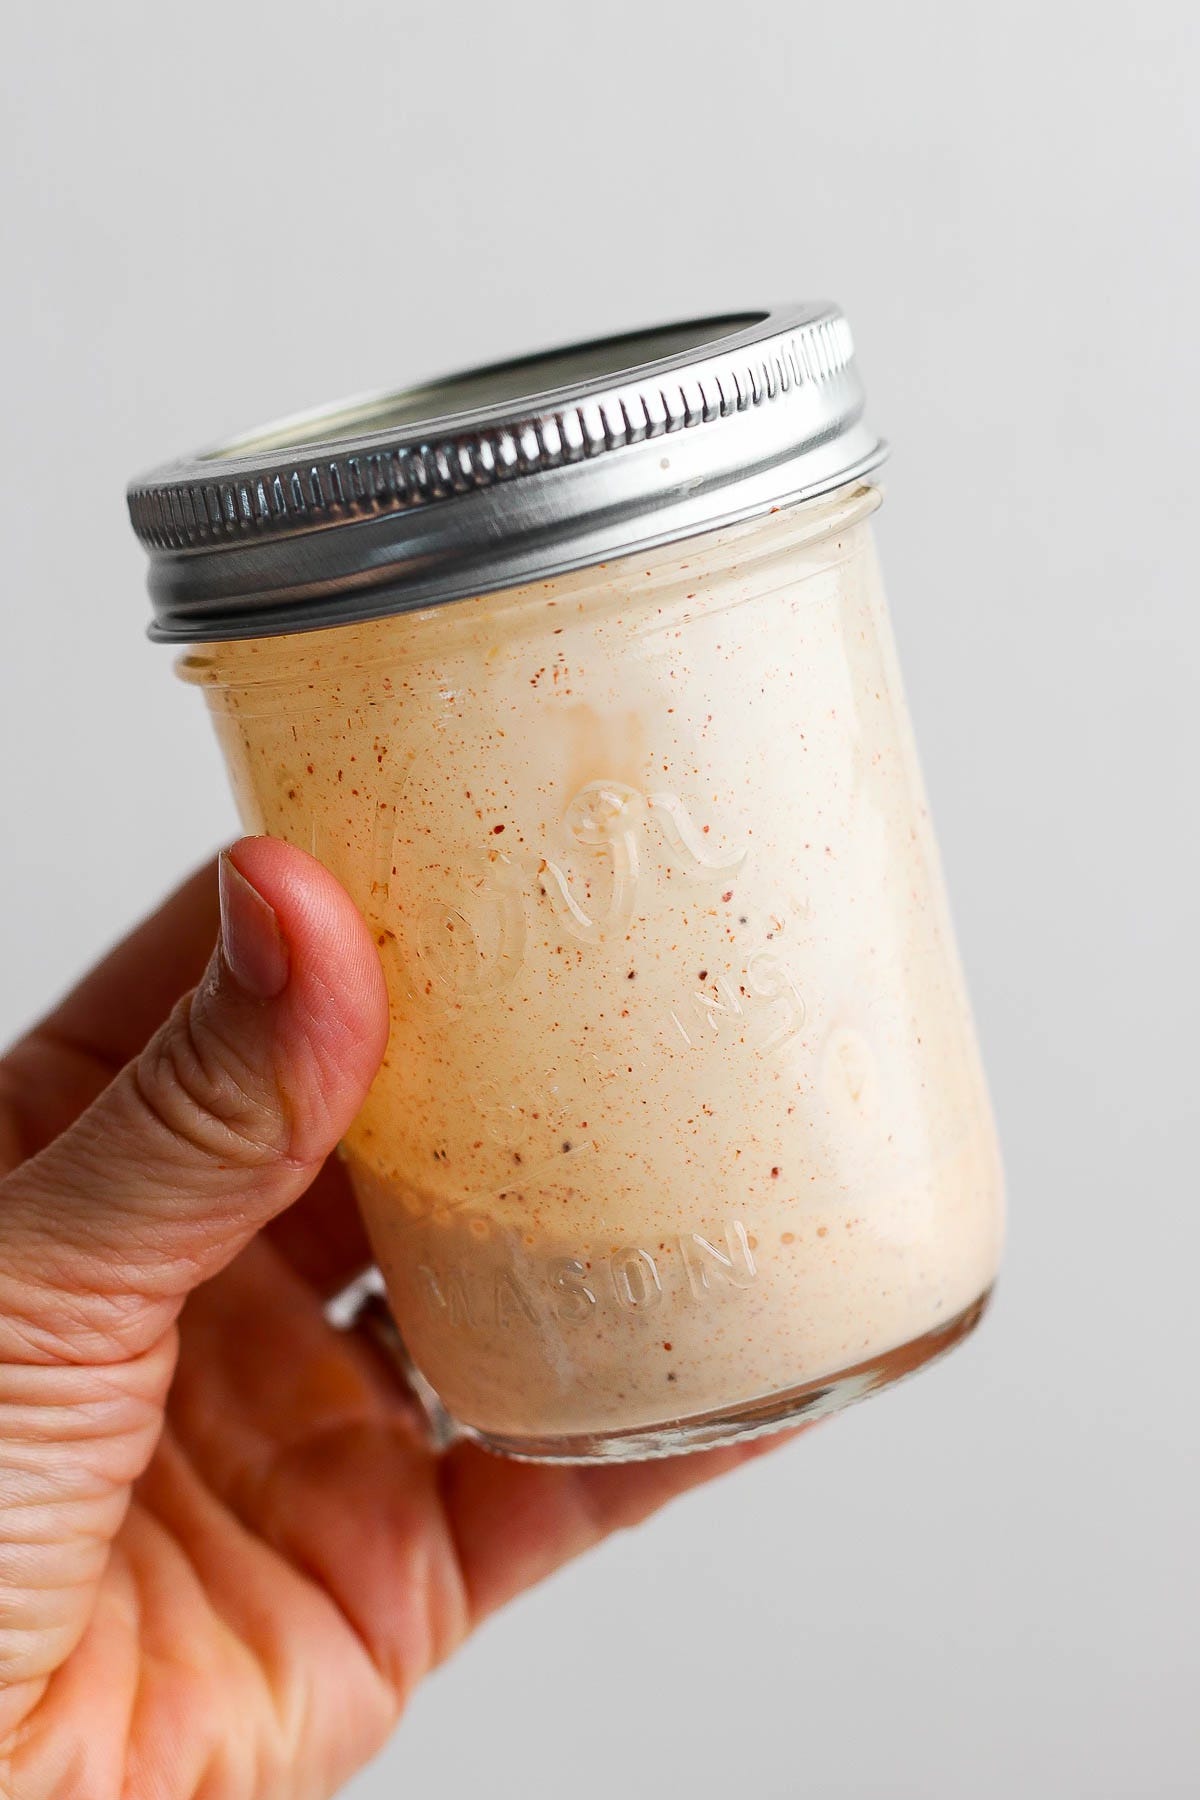
I made the street corn extra creamy, so it almost acts like a dressing as well - BUT I like a well-dressed salad, so I also have a little dressing option here too - add as much or as little as you like!
Dairy-Free + Gluten-Free Report
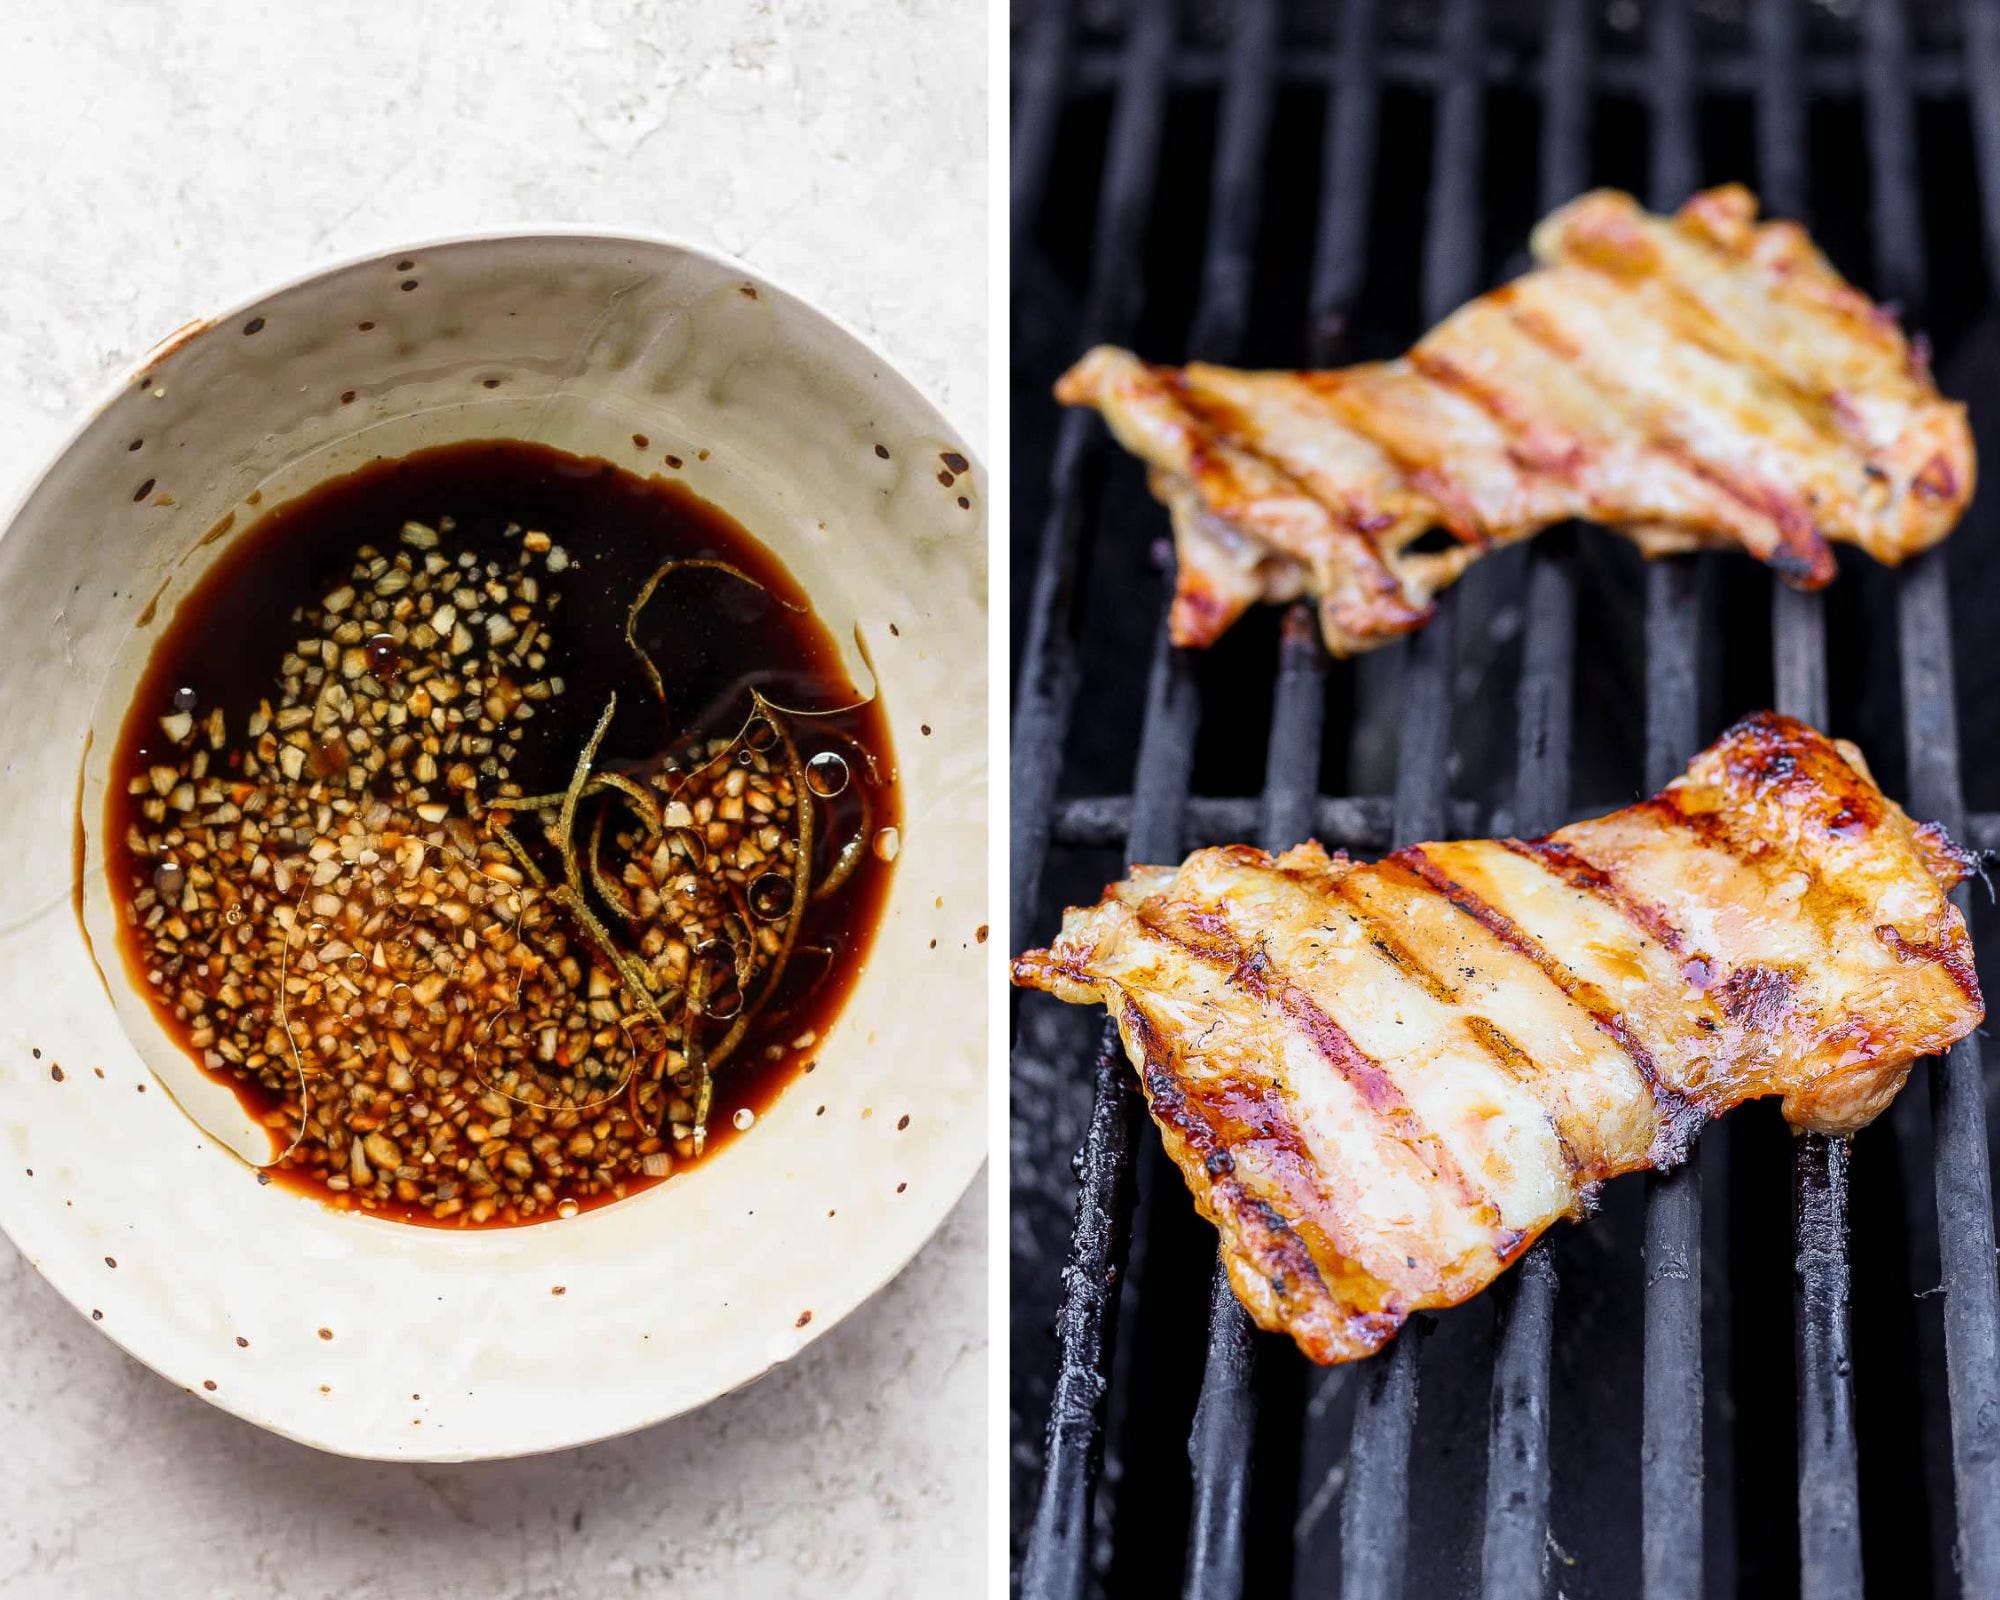
Gluten-Free: there is soy sauce and worcestershire sauce in the chicken marinade, but you can easily swap those out with gluten-free options. For soy sauce, try Tamari or coconut aminos. For the worcestershire - I believe Lea + Perrins brand is gluten-free!
Dairy-Free: the only dairy component is the feta cheese, so just swap that out for a DF brand like VioLife!
35 Minute Weeknight Dinner
Not counting the inactive cook time of marinating the chicken - this recipe takes approx. 35 minutes to whip together (even less, if you use frozen corn instead grilling it).
Kid Report (Did My Kids Eat This)
Yes! My kids LOVE street corn, so anything that includes it, they will eat. They don’t love salads yet, so I just served this one deconstructed on a plate (chicken, street corn, avocado).
Meal Prep (Set Yourself Up for Success)
Make Marinade: mix up the marinade ingredients and store in an airtight container in the refrigerator. Marinate chicken at least 30 minutes before grilling!
Make Street Corn: this could definitely be made the day before, if you want to and you can store it in the fridge in an airtight container.
Make Dressing: add the ingredients to a mason jar - mix until smooth and store in the refrigerator.
Alright let’s dive into some step-by-step photos so you can see all the key steps and then the recipe follows!
Tools I Used
Keep reading with a 7-day free trial
Subscribe to The Wooden Skillet Newsletter to keep reading this post and get 7 days of free access to the full post archives.